WordPress is a powerful and widely used content management system, but its popularity also makes it a target for hackers and malware attacks. If you suspect your WordPress site has been compromised, it's essential to act quickly to remove the malware and secure your site. Here’s a comprehensive guide to help you clean your WordPress site of malware.
Signs Your WordPress Site May Be Infected
- Unfamiliar links or content on your website.
- Decreased website performance or speed.
- Unexpected redirects to unknown sites.
- Warning messages from your browser or search engines.
- Your hosting provider suspends your account.
Step 1: Backup Your Website
Before making any changes, create a complete backup of your site. This ensures you can recover your data if anything goes wrong. create a manual backup using your hosting provider's cPanel or an FTP client like FileZilla.
Step 2: Identify the Malware
Scan your WordPress site to pinpoint the infected files.
Your hosting provider likely offers advanced tools for website malware scanning. Consider reaching out to them for a comprehensive scan of your entire website.
Recommended tools:
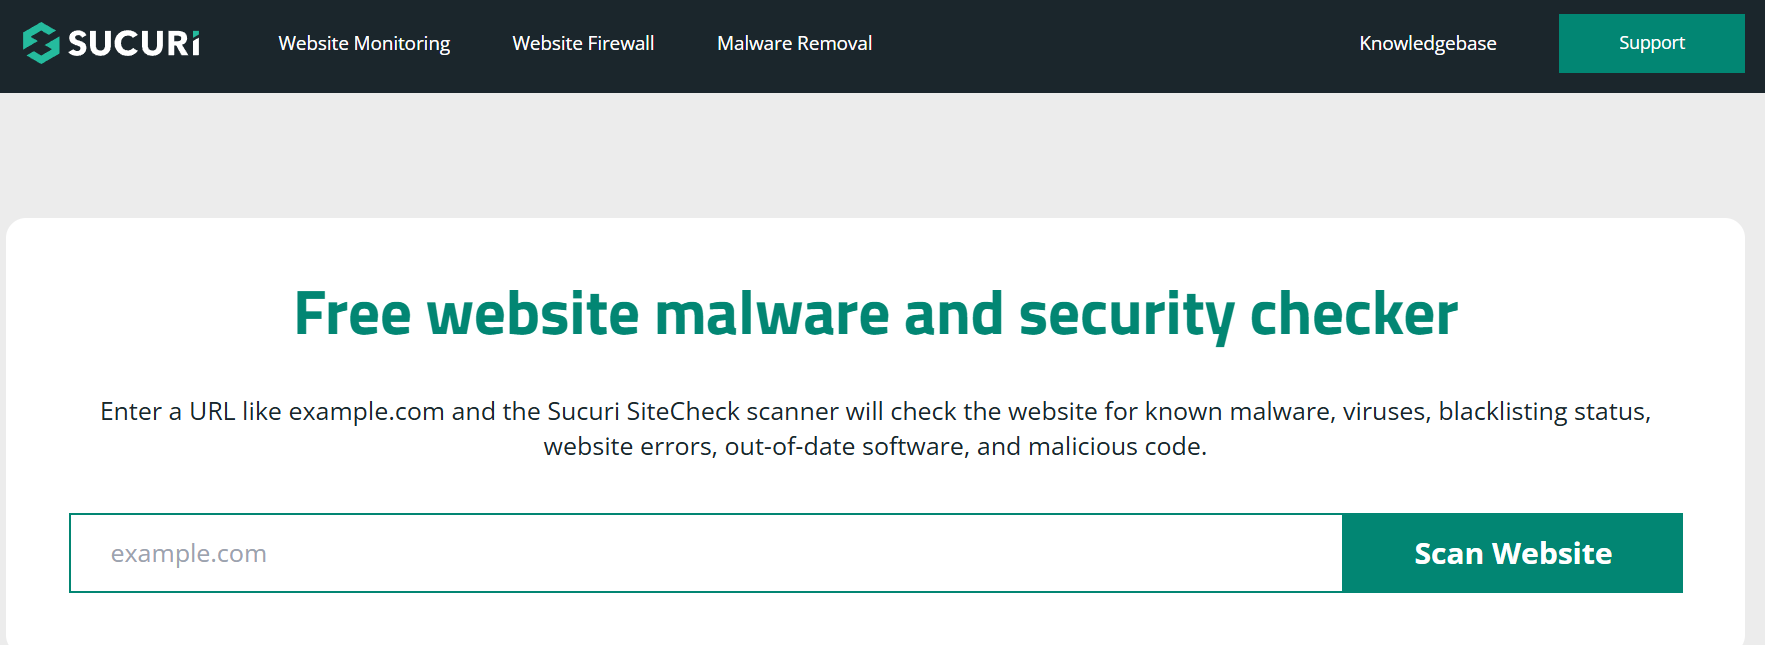
- Sucuri SiteCheck: Free online scanner.
- Wordfence Security: A WordPress plugin that scans for malware.
- MalCare: Automated scanning and cleaning tool.
- Hosting Scanners: Many hosting providers like SiteGround or Bluehost offer built-in malware detection tools.
You can perform a live scan of your site using Sucuri SiteCheck. It will generate a detailed report, identifying infected files and pinpointing where malicious code has been injected.

Step 3: Remove Malware-Infected Files
Once you’ve identified the infected files, you need to clean or replace them.
Option 1: Manually Remove Malware
- Access Your Site: Use an FTP client or your hosting cPanel.
- Locate Infected Files: Check for unusual code or scripts in the following locations:
- wp-content/uploads
- wp-content/themes
- wp-content/plugins
- wp-config.php
Clean or Delete: Remove malicious code or replace the file with a clean version from a backup.
Option 2: Use a Malware Removal Tool
- Use plugins like Sucuri Security or MalCare to automate the cleaning process. These tools scan and clean your site with minimal manual intervention.
Steps 4: Remove a Hacked Database Injection
1. Backup Everything
Before making any changes, create a full backup of:
- Your WordPress files and folders.
- Your database (use phpMyAdmin or a similar tool).
2. Scan for Malicious Code
- Database Search:
- Use tools like phpMyAdmin or Adminer to search for suspicious or injected code.
- Common keywords to look for:
-
script(used for injecting malicious JavaScript) -
evalorbase64_decode(common in obfuscated PHP code) -
iframetags -
UNION SELECTor SQL commands that shouldn't exist.
-
-
Example SQL query to find injections:
SELECT * FROM wp_posts where post_content LIKE '%
script%'
SELECT * FROM wp_options where option_value LIKE '%base64_decode%'
3. Clean the Database
-
Manually remove any identified malicious code:
-
Navigate to the affected table (e.g.,
wp_posts,wp_options, orwp_users). -
Edit and clean the infected rows by removing malicious scripts or restoring the content from a backup.
- you can use search and replace function to replace data in mysql tables
-
-
Automated Cleanup:
-
Use a plugin like WP-DBManager or Sucuri for database repair if available.
-
Step 4: Update Everything
Outdated themes, plugins, and WordPress cores are common entry points for hackers.
-
Update WordPress core to the latest version.
-
Update all plugins and themes.
-
Remove unused or outdated plugins and themes.
Step 5: Secure Your Website
1. Update Everything
Outdated themes, plugins, and WordPress cores are common entry points for hackers.
-
Update WordPress core to the latest version.
-
Update all plugins and themes.
-
Remove unused or outdated plugins and themes.
2. Configure Proper File Permissions
Ensure correct permissions find attached table for proper file permision
all wordpress website folder structure shoule be have proper file foleder permission as mentioned in below table
Name |
File/Folder |
Recommended permissions |
root directory
|
/public_html/
|
755
|
wp-includes/
|
/public_html/wp-includes
|
755
|
.htaccess
|
/public_html/.htaccess
|
644
|
wp-admin/index.php
|
/public_html/wp-admin/index.php
|
644
|
wp-admin/js/
|
/public_html/wp-admin/js/
|
755
|
wp-content/themes/
|
/public_html/wp-content/themes
|
755
|
wp-content/plugins/
|
/public_html/wp-content/plugins
|
755
|
wp-admin/
|
/public_html/wp-admin
|
755
|
wp-content/
|
/public_html/wp-content
|
755
|
wp-config.php
|
/public_html/wp-config.php
|
640
|
3. Change All Credentials
-
Update:
-
WordPress admin password.
-
Database user password.
-
FTP credentials.
-
Hosting control panel password.
-
-
Check for unauthorized users in
wp_usersand delete any suspicious accounts.
4. Disable Directory Browsing:
Use the cPanel "Indexes" Feature
-
Go to the Indexes Tool:
-
In cPanel, navigate to the Advanced section and click on Indexes.
-
-
Select the Directory:
-
Choose the directory you want to configure (e.g.,
public_html).
-
-
Set to "No Indexing":
-
Select the No Indexing option to disable directory browsing for that folder.
-
-
Save Settings.
-
Add the Following Code in your .htaccess file inside public_html folder to Disable Directory Browsing:
Options -Indexes
5. Harden Security:
Use plugins like Wordfence, iThemes Security, or Sucuri to add extra layers of protection.
-
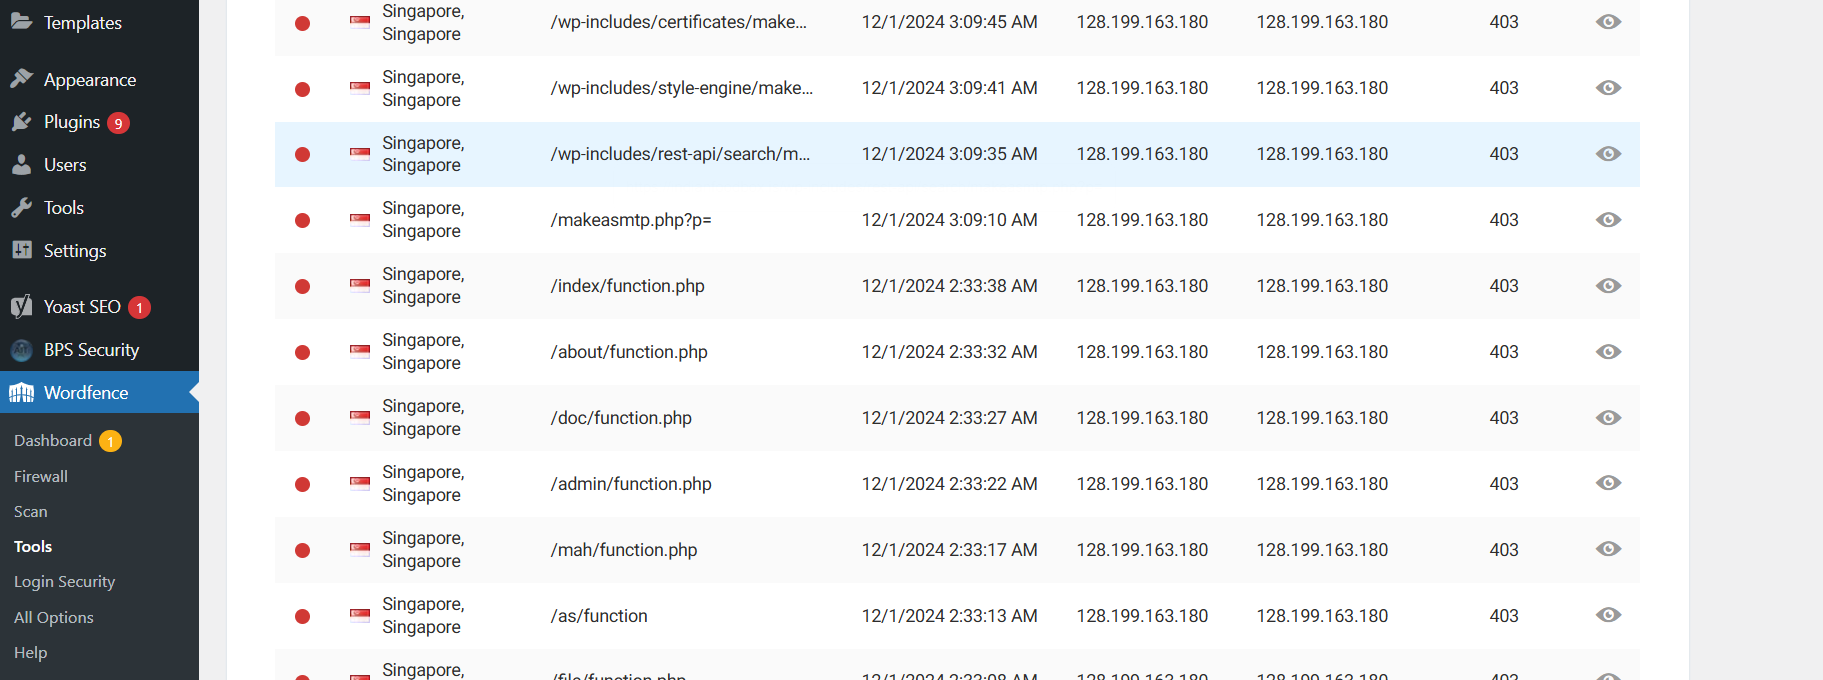
Wordfence Monitor Traffic for Unexpected IP Requests:
Enable Live Traffic View
-
Go to your WordPress dashboard and navigate to Wordfence > Tools > Live Traffic.
-
Live Traffic View displays real-time data about:
-
Visitors (including crawlers and bots).
-
Blocked IPs and failed login attempts.
-
Suspicious activities such as repeated 404 errors.
-
Identify Suspicious IPs
-
Look for patterns such as:
-
Excessive login attempts (Brute force).
-
Repeated access to
wp-login.phpor admin pages. -
Requests to non-existent pages or files.
-
Large numbers of requests in a short time (indicative of DDoS attacks).
-

Block IP Addresses Manually
-
Navigate to Wordfence > Firewall > Blocking.
-
Add the IP(s) you want to block:
-
Enter the IP address.
-
Optionally, provide a reason for the block (for your reference).
-
-
Set a duration for the block (e.g., permanently or for a specific time).
-
Save your changes.
This is a really helpful guide — malware cleanup is stressful, especially when a site is critical for daily use. I like the focus on prevention after recovery, because ongoing monitoring and clear visibility are just as important as the initial fix. That mindset applies beyond security too; for example, platforms like LocateParcels.com rely on clean, secure systems so users can safely track shipments without worrying about data integrity. Consistent maintenance always makes things more reliable in the long run.
You must be logged in to post a comment.